
Desserts
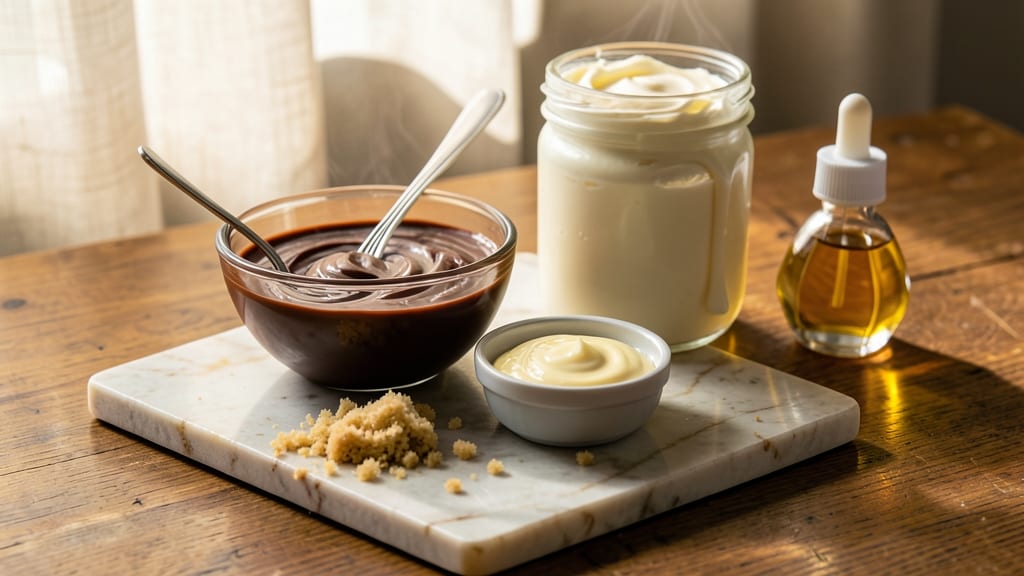
This cake pop dipping chocolate recipe transforms simple cake crumbs into show-stopping treats with a silky ganache that sets in minutes. ✨ The secret lies in balancing rich chocolate with cream, creating a glossy coat that hardens perfectly for dipping.
I’ve perfected this technique after years of trial and error—no more sticky messes or uneven coatings.
The process starts with cake crumbs mixed with frosting to bind them into smooth, pipeable batter. Once shaped and chilled, the real magic happens when you dip them into the ganache.
This foolproof method ensures a smooth, crack-free finish every time, whether you’re making them for a party or just satisfying a sweet tooth.
What you’ll end up with is a batch of golden, glossy cake pops that look like they came from a bakery. The ganache sets quickly, giving you clean edges and a professional finish.
Best of all, they’re easy to decorate—sprinkles, crushed nuts, or edible glitter all add that extra wow factor.
These treats keep well in the fridge for up to a week, making them perfect for gifting or meal prep. Whether you’re serving them at a celebration or enjoying them as a dessert, this recipe delivers restaurant-quality results with minimal effort. Let’s get started!
Ingredients for cake pop dipping chocolate
Pantry staples plus a few key ingredients for bakery-style cake pops.
| Ingredient | Amount | Notes |
|---|---|---|
| Dark Chocolate Bars 🍫 | 12 oz | Semisweet or bittersweet, 60-70% cacao |
| Heavy Whipping Cream 🥛 | 1 cup | Full-fat for best results |
| Unsalted Butter 🧈 | ½ cup | Cut into small cubes |
| Vanilla Extract 🌿 | 1 tsp | Pure vanilla preferred |
| Cake Crumbs 🍰 | 2 cups | From 1 box cake mix |
| Vanilla Frosting 🎂 | ½ cup | Store-bought or homemade |
| Powdered Sugar 🧂 | ¼ cup | For dusting cake pops |
| Coconut Oil 🫒 | 1 tbsp | For dipping tool release |
| Edible Decorations ✨ | 1 cup | Sprinkles, crushed nuts, or glitter |
The chocolate is everything here. Ghirardelli or Lindt bars melt beautifully—avoid cheap brands that seize up. Heavy cream and butter need to be cold when you start, so pull them from the fridge right before using. For cake crumbs, I always use boxed cake mix (like Betty Crocker) because it’s consistent. Fresh cake crumbs work too, but they dry out faster. The frosting? Store-bought works perfectly—no need to make it from scratch unless you're feeling fancy.
No dark chocolate? White chocolate with cocoa powder makes a decent substitute, but the flavor won’t be the same. Short on butter? Coconut oil works in a pinch, though it gives a slightly different texture. The ganache will thicken as it cools, so don’t stress if it’s too thin at first. For extra shine, add 1 tsp coconut oil to the melted chocolate before mixing with cream. And if you’re decorating, edible glitter from Amazon or craft stores gives that bakery sparkle.
Ganache sets best at room temperature, so work in a cool kitchen. Store leftovers in an airtight container in the fridge for up to 1 week. To reheat, microwave in 10-second bursts until smooth. Cake pops keep for 3 days in the fridge or 1 month frozen—wrap them individually in parchment paper to prevent sticking. Pro tip: Line your dipping tray with parchment for easy cleanup.
Why You'll Love This Recipe
- No Pudding Required: I’ll be real—this recipe saved me from melting chocolate all over the kitchen. Just melt the dark chocolate with butter and cream, stir in vanilla, and you’ve got a silky-smooth dip ready in minutes. No fancy equipment, no stress.
- Rich Without the Guilt: That first bite of cake pop coated in dark chocolate? Pure indulgence, but the rich cocoa and buttery cream balance out the sweetness. Honestly, it’s the kind of treat that makes you forget it’s actually healthy(ish) for you.
- Party Magic in Minutes: Birthday? Holiday dessert table? Last-minute potluck? This is my secret weapon. The cake crumbs soak up the chocolate like a dream, and you can roll them in sprinkles or crushed nuts if you’re feeling fancy. Zero effort, maximum wow.
- Leftovers? More Like Leftovers: Between us, the chocolate mixture keeps for days in the fridge—perfect for dipping extra cake pops or even spreading on toast. And if you’ve got stale cake lying around, this turns it into something irresistible. Waste not, want not.
Step-by-step instructions for silky cake pop dipping chocolate
Here's how to make a velvety chocolate ganache that sets perfectly for dipping cake pops.
🍳 Step 1: Melt Chocolate and Cream Together
Chop the 12 oz dark chocolate bars into small, even pieces and place them in a heatproof bowl. In a separate saucepan, heat the 1 cup heavy whipping cream over medium heat until it just begins to simmer—you'll see small bubbles forming around the edges. Pour the hot cream over the chocolate and let it sit for 5 minutes.
After the initial rest, gently stir the mixture with a silicone spatula until the chocolate melts completely and you have a smooth, glossy ganache. The texture should be thick but pourable. If you notice any lumps, strain the mixture through a fine-mesh sieve into a clean bowl. This step ensures your dipping chocolate will be silky smooth and free of any graininess.
👨🍳 Step 2: Incorporate Butter and Vanilla
Add the 0.5 cup unsalted butter (cut into small cubes) to the melted chocolate mixture and stir until fully melted and incorporated. Then add the 1 tsp vanilla extract and stir well. The ganache should now be rich and fragrant, with a glossy sheen that indicates it's ready for the next step.
Here's the thing—don't rush this mixing. The butter needs to melt completely and blend smoothly to prevent any separation later. If the mixture starts to thicken too much, you can gently warm it over low heat for 10-15 seconds to restore its silky consistency, but be careful not to overheat or the chocolate may seize.
⏰ Step 3: Cool and Thicken the Ganache
Let the ganache cool at room temperature for 10-15 minutes, stirring occasionally. You're looking for it to thicken just enough to coat the back of a spoon but still be pourable. The ganache should look glossy and slightly thicker than when it was hot. If it thickens too much before reaching the right consistency, gently warm it over low heat for 10-15 seconds to loosen it up.
This cooling process is crucial for achieving the perfect dipping consistency. If you skip it, your ganache might be too runny and won't set properly on the cake pops. The ideal texture should be thick enough to hold its shape when drizzled but still smooth enough to flow easily when dipped.
🥘 Step 4: Prepare for Dipping
Line a baking sheet with parchment paper and place it in the freezer to chill. Dip a wooden skewer or cake pop stick into the 1 tbsp coconut oil to prevent the cake pops from sticking. Then, dip each cake pop into the ganache, allowing any excess to drip off before placing it on the chilled baking sheet. Work quickly to avoid the ganache setting too fast on the stick.
While the cake pops are still wet with ganache, immediately roll them in the 1 cup edible decorations of your choice. I like to press the decorations gently into the chocolate so they stick well. Place the decorated cake pops back in the freezer for 10-15 minutes to set completely. This quick chilling ensures the chocolate hardens smoothly and stays in place.
🍽️ Step 5: Dust and Serve
Once the ganache is fully set, remove the cake pops from the freezer and dust them lightly with the 0.25 cup powdered sugar using a fine-mesh sieve. This adds a beautiful finishing touch and prevents the decorations from sticking to each other. The powdered sugar also gives the cake pops that classic bakery-style finish.
Serve the cake pops immediately or store them in an airtight container in the refrigerator for up to 5 days. They're perfect for parties, gifts, or just satisfying a sweet tooth. The combination of silky chocolate, your choice of decorations, and the light dusting of powdered sugar makes these cake pops look and taste absolutely professional.
Pro Tips For Making Cake Pop Dipping Chocolate
- CHOP CHOCOLATE SMALL: I learned this the hard way—using uneven chocolate chunks means some pieces melt faster, leaving you with a lumpy, streaky mess. Chop the dark chocolate bars into ¼-inch pieces (or buy pre-chopped) so they melt uniformly in the cream.
- TEMPER THE CREAM: Heat the heavy whipping cream to just below a simmer (160°F) before pouring it over the chocolate. If it’s too hot, the chocolate seizes up like scrambled eggs—no amount of stirring will fix it. Let it cool to 110°F before adding vanilla and butter.
- DRY THE CRUMBS: Wet cake crumbs turn into a sticky disaster when rolling. Spread them on a baking sheet and bake at 200°F for 10 minutes, stirring halfway, until completely dry. This keeps your cake pops from falling apart when dipping.
- USE A THERMOMETER: Guessing the chocolate’s temperature leads to either grainy or runny results. Aim for 88–90°F—this is the sweet spot for smooth, glossy dipping chocolate that sets properly on cake pops. No thermometer? Test by dipping a spoon in cold water—if it holds a shell, it’s ready.
Storing and reheating this dish
Fridge Storage Tips
Store your cake pops in an airtight container lined with parchment paper to prevent sticking. Place them in a single layer and cover tightly with a lid. They’ll keep in the fridge for up to 5 days—the ganache stays firm while the cake crumbs remain moist.
I like to separate them with wax paper circles between layers for extra protection. 🥰
Freezer Magic
For longer storage, freeze cake pops individually wrapped in parchment paper or plastic wrap in a single layer. Store them in a freezer-safe bag for up to 1 month.
When ready to serve, let them thaw at room temperature for 10-15 minutes—the ganache softens beautifully without melting completely. This method preserves their shape and crunch perfectly. ❄️
Reheating Ganache
If your ganache thickens too much in the fridge, reheat it gently in 10-second bursts in the microwave. Stir after each interval until smooth and pourable again.
For extra shine, add ½ tsp coconut oil while reheating. Never microwave the ganache fully—just enough to restore its silky texture for dipping or drizzling. 💫
Reviving Sticky Pops
If cake pops stick together after storage, place them in the freezer for 5 minutes to firm up the ganache. Then, gently separate them using a butter knife.
For extra flair, dust with powdered sugar or edible glitter right before serving to refresh their bakery-style finish. This trick works like magic for party prep! ✨
Transportation Hacks
Pack cake pops in a cool insulated bag with an ice pack for events. The ganache stays firm for up to 4 hours, keeping them perfect for serving.
For extra stability, place them in a small cake pop stand or muffin tin lined with parchment—this prevents rolling and keeps decorations intact. 🚗
Decorating After Storage
Add fresh decorations right before serving to keep them looking vibrant. Use a small paintbrush to apply melted chocolate drizzles or a light dusting of cocoa powder for a professional touch.
If your cake pops lose their shine, a quick dip in warmed ganache restores their glossy finish. This keeps them tasting (and looking) fresh! 🎨
Nutrition facts
Frequently asked questions
Why does my dipping chocolate turn grainy?
Graininess usually happens when chocolate overheats or absorbs moisture. Always melt chocolate gently over a double boiler or in short microwave bursts (20-second intervals). Use cold heavy cream and avoid stirring too vigorously—this creates air bubbles that cause graininess. If it happens, strain the ganache through a fine-mesh sieve right before dipping.
Can I use microwave instead of stovetop for the ganache?
For microwave method, heat 1 cup heavy cream in 20-second bursts until steaming (about 1 minute total). Pour over chopped chocolate, let sit 2 minutes, then stir until smooth. The key is patience—microwaving too long can cause seizing. For best results, combine both methods: microwave the cream, then finish on low stovetop heat.
How do I fix cake pops that won't hold their shape?
Undersized cake pops or too-wet batter cause this issue. Use a 1.5-inch scoop of cake crumbs mixed with 1 tbsp frosting per pop. Chill the batter 30 minutes before piping. If they still crumble, add 1 tbsp powdered sugar to the frosting mixture for extra binding. Work in a cool environment to prevent melting during dipping.
What's the best way to decorate cake pops after dipping?
For professional results, use the "drip and roll" method: First, dip the cake pop in warmed ganache, then immediately roll in your chosen decoration. While still wet, use a toothpick to add extra sprinkles or crushed nuts. For metallic finishes, brush with edible luster dust while the chocolate is slightly tacky. Let set 5 minutes before dusting with powdered sugar.
Can I make cake pops ahead of time?
Yes! Shape the cake pops 1 day ahead and store them uncovered in the fridge to dry completely. Wrap individually in parchment paper and freeze for up to 1 month. When ready to decorate, thaw 30 minutes** at room temperature. The dried texture makes them easier to handle when dipping—no more messy fingers!